
Using your smartphone as a webcam for your laptop can be a smart and practical choice. It offers many benefits, such as convenience, high-quality video, and cost-effectiveness. Instead of buying a separate webcam, you can utilize the camera on your phone, which you likely carry with you everywhere. This means you’re always ready for a video call, whether you’re at home, in the office, or on the go.
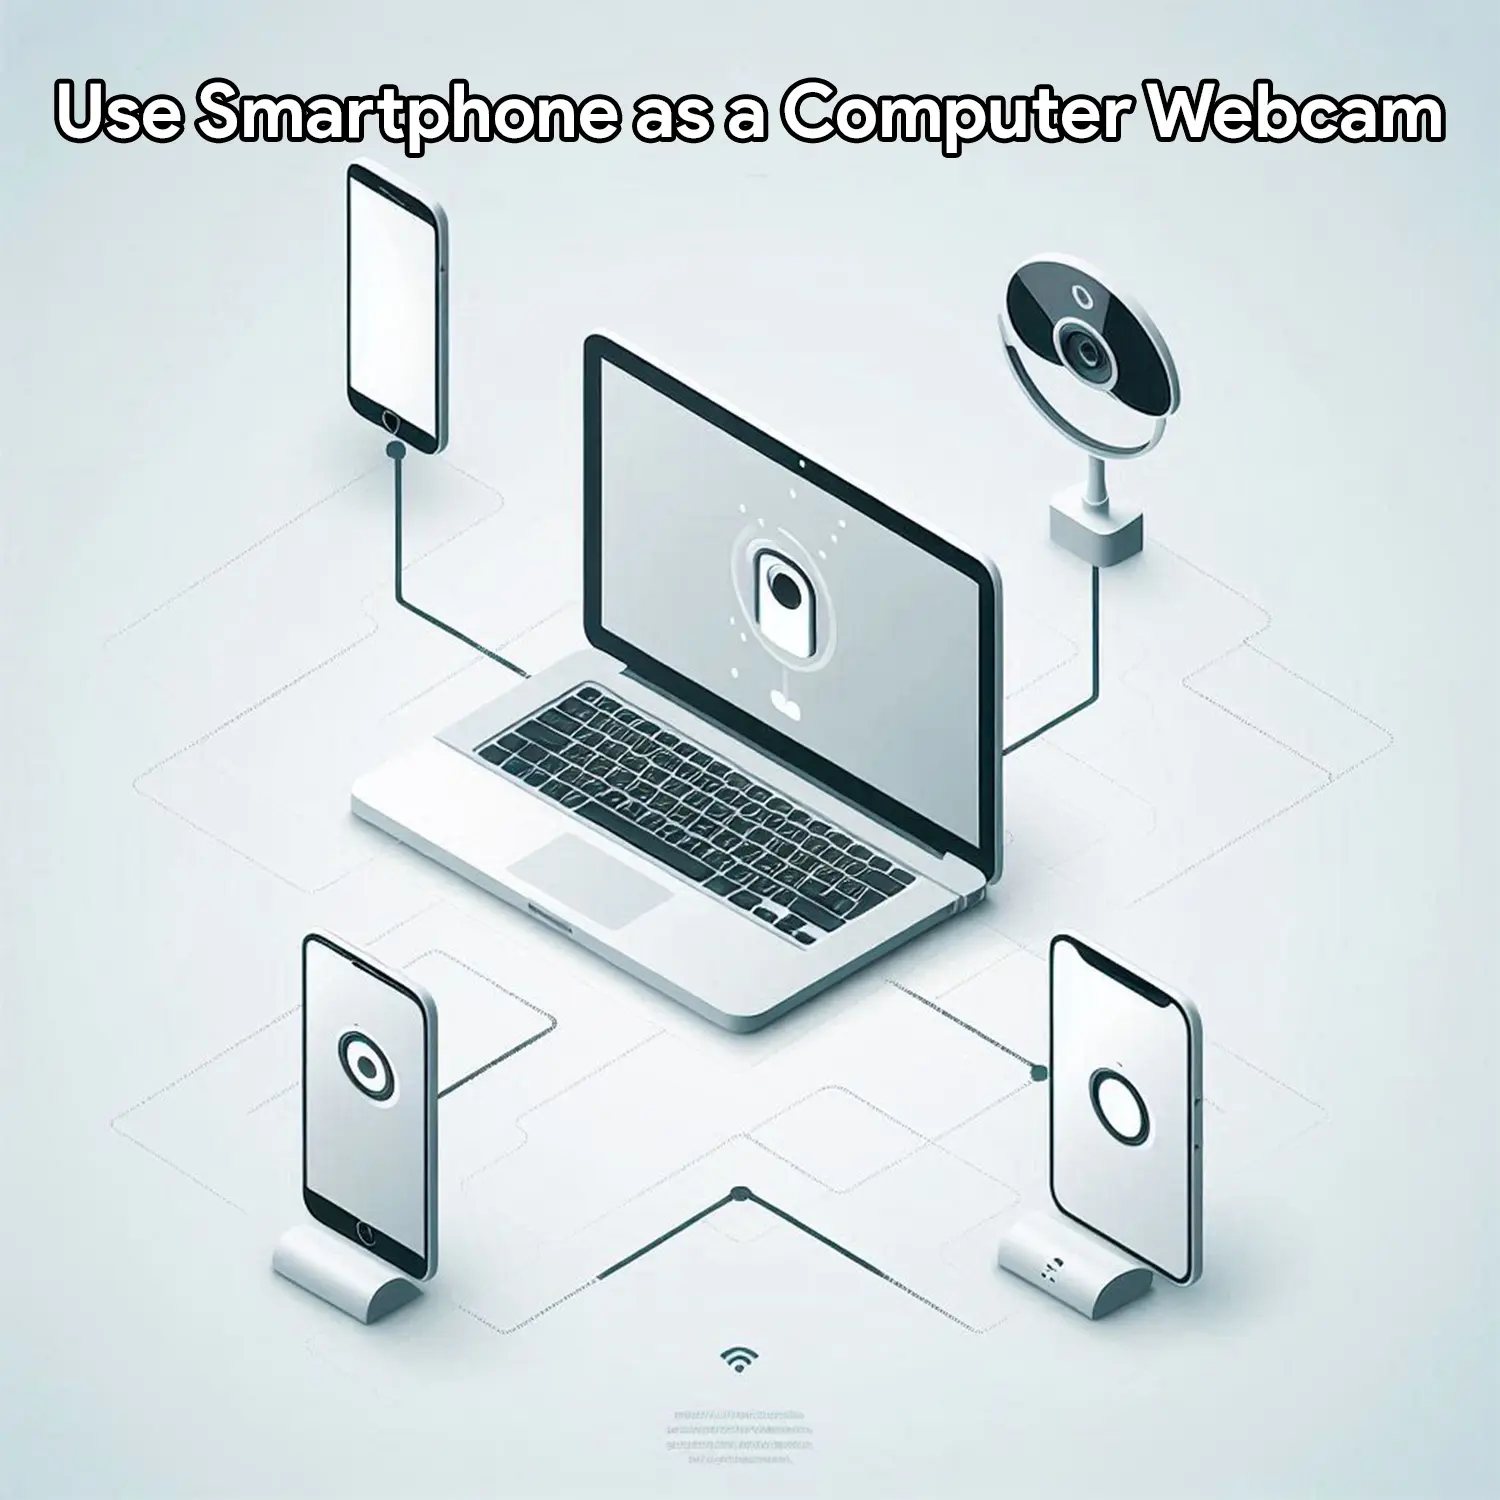
Setting up your phone as a webcam is easier than you might think, thanks to various third-party apps available for both Android and iPhone devices. These apps allow you to connect your phone to your computer either with a USB cable or wirelessly, giving you the flexibility to choose the method that suits you best. In this article, we’ll check out the benefits of using your smartphone as a webcam and provide a step-by-step guide on how to set it up for both Android and iPhone users.
- Sharing Your Stark VPN Data Connection Using Hotspot
- 2 Of The Ways To Connect Your Apple TV to Your AirPods (2023)
- LocalSend: Share Files & Messages with Nearby Devices
Benefits of Using Your Smartphone as a Laptop Webcam
Using your phone as a webcam has several benefits. Here are some of the benefits of using your phone as a webcam for your laptop:
- Convenience: You always carry your phone with you, so you don’t need to worry about carrying a separate webcam.
- High-quality video: Many smartphones have high-resolution cameras that can produce high-quality video, often better than a built-in laptop camera or a basic webcam.
- Portability: You can use your phone as a webcam anywhere, whether you’re at home, in the office, or on the go.
- Cost-effective: You don’t need to spend extra money on a separate webcam, as your phone can serve as a capable alternative.
- Flexibility: You can easily switch between different angles and perspectives by moving your phone or using a phone tripod.
- Easy setup: Many apps and software programs allow for easy setup and integration with your phone as a webcam.
Using Your Smartphone as a Webcam with Third-Party Apps
Did you know you can improve your video call quality by using your smartphone as a webcam for your computer? Whether you’re using Android or iPhone, you can achieve this by using third-party apps. These apps allow you to connect your phone to your computer either with a USB cable or wirelessly. Let’s see how to do this with both Android and iPhone devices.
For Androids:
1. Using a USB Cable:
- Download and install a third-party app: Popular options include DroidCam and Iridian Webcam. Install the app on both your phone and laptop.
- Enable USB debugging: On your phone, go to “Settings,” find “About phone,” and tap “Build number” seven times to unlock “Developer options.” Then, enable USB debugging in the Developer options menu.
- Connect your phone to your laptop: Use a USB cable to link the devices.
- Open the app on both devices: Follow the on-screen instructions to establish the connection.
2. Wireless Connection:
- Download and install the same third-party app: Ensure both your phone and laptop are connected to the same Wi-Fi network.
- Open the app on both devices: Follow the on-screen instructions, which may involve entering an IP address or scanning a QR code.
- Select your smartphone as the webcam: In your laptop’s video conferencing or chat application, choose your phone as the video input source.
For iPhones:
1. Using a USB Cable:
- Download and install a third-party app: Popular choices include EpocCam and iVCam. Install the app on both your iPhone and laptop.
- Connect your phone to your laptop: Use a USB cable.
- Open the app on both devices: Follow the on-screen instructions to connect.
2. Wireless Connection:
- Download and install the same third-party app: Make sure both your iPhone and laptop are on the same Wi-Fi network.
- Open the app on both devices: Follow the instructions to connect, typically by entering an IP address or scanning a QR code.
- Select your phone as the webcam: Choose your iPhone as the video input source in your laptop’s video conferencing or chat application.
By following these simple steps, you can easily use your smartphone as a webcam, which can greatly improve the quality of your video calls. This setup can make a big difference in how clear and professional you appear on screen. Plus, it’s a cost-effective way to enhance your video conferencing experience without the need to buy a separate webcam.
Using Your Smartphone as a Webcam with Third-Party Apps
Did you know that you can use your smartphone as a webcam without downloading any extra apps? This is possible using the built-in features of your phone. Whether you have an Android or iPhone, you can follow these simple steps to transform your device into a webcam. Let’s start with Android phones.
For Androids:
To use your Google Pixel smartphone as a webcam for your computer, follow these steps. However, this feature is exclusive to Google Pixel phones and is not available on other Android devices.
- Connect Your Phone:
- Use a USB data cable (not just a charging one) to connect your Pixel to your computer.
- Set Up Your Phone:
- Unlock your phone.
- Swipe down from the top of the screen.
- Tap on “Charging this device by USB.”
- Select “Webcam” from the options.
- Configure the Webcam:
- Swipe down again and tap “Webcam” to preview and adjust settings.
- Adjust the camera angle: 0.5 for a wide shot, 1.0 for a standard view, and 2.0 for a zoomed-in view.
- Use the back camera for better quality.
- Set Up on Your Computer:
- Open your video app (e.g., Google Meet, Zoom, Skype).
- Start a meeting.
- Go to settings, select “Video,” and choose “Android Webcam.”
- Set the resolution (auto is fine).
- Mount Your Phone:
- Place it on top of your screen for a typical webcam setup.
- Use a tripod for more flexibility.
These steps are designed to work on Windows 10 computers as well as MacBooks. It’s important to note that while we’re using a Pixel 8 Pro for this guide, any Pixel phone running Android 14 should be able to follow these steps successfully.
For iPhones:
Continuity Camera is a feature from Apple that lets you use your iPhone’s camera as a webcam for your Mac. This means you can use your iPhone’s better camera for video calls and other things on your Mac, making everything look clearer and better. Using your iPhone as a webcam with a Continuity Camera is simple. And it enhances your video quality significantly. Here’s how to set it up:
Requirements:
- iPhone: It must be iPhone XR or later, running iOS 16 or later.
- Mac: It needs to be running MacOS Ventura or later.
- Connection: Both devices should be on the same Wi-Fi network with Bluetooth turned on.
- Apple ID: Your iPhone and Mac must be signed in to the same Apple ID with two-factor authentication enabled.
- Continuity Camera: Ensure this feature is turned on in your iPhone’s Settings under General > AirPlay & Handoff (it’s on by default).
Steps:
- Open an app on your Mac: This could be a Photo Booth, FaceTime, or any video conferencing app.
- Select the “Camera” dropdown menu: Or click on the camera icon within the app.
- Choose your iPhone: Select your iPhone’s name from the list of available cameras.
- Establish the connection: Wait for the connection to be established. You might see a prompt on your iPhone asking you to allow the connection.
- Use your iPhone’s camera: You can now use your iPhone’s camera as a webcam for your Mac. Switch between the rear-facing and front-facing cameras using the camera switch icon.
Connection Options:
- Wireless: Continuity Camera works wirelessly by default.
- USB: You can also connect your iPhone to your Mac with a Lightning cable for a more stable connection.
Video Effects:
- Center Stage: Keeps you in the frame during calls.
- Desk View: Shows your desk along with your video.
- Portrait Mode: Creates a blurred background effect.
- Studio Light: Boosts lighting in your scene.
You can try out these features in your video app to see how they work for you. Using your iPhone as a webcam with Continuity Camera is a great way to make your video calls look better without having to buy extra equipment. It’s an easy way to enhance how you appear in video calls, making them more enjoyable for you and the people you’re talking to.
Popular Apps for Using Your Smartphone as A Webcam
There are several popular apps available for using your smartphone as a webcam. Some of the most popular ones include:
- DroidCam: Works with both iPhone and Android phones, and allows you to use those phones as a webcam on a Windows or Linux computer.
- iVCam: An above-average webcam app with several unique and useful features.
- Iriun: One of the few webcam apps with support for 4K video, although it does depend on your smartphone screen.
- Camo: The newest webcam app, it works with over 40 popular apps such as Zoom, Meet, Teams, OBS, Streamlabs, Skype, Twitch, and many others.
- XSplit Connect: Works well out of the box and includes many good features, such as a blur slider that adds a fake bokeh effect.
- EpocCam: Converts your iPhone into a high-quality webcam for your computer.
- ManyCam: It is available for both Windows and macOS operating systems but does not have a specific app for iPhone or Android to use your smartphone as a webcam. Also, it offers support for streaming over Wi-Fi, Bluetooth, and USB.
- IP Webcam: An Android app lets you turn your Android device into a webcam. It is not available for iPhone or other iOS devices. It offers support for streaming over Wi-Fi, Bluetooth, and USB.