
Do you know that you can take screenshots on your Windows laptop in 3 different ways?
I was using my laptop the other day and wanted to take screenshots of a tweet I saw on Twitter. However, I could not do that. Which made me check how I used to take a screenshot on my Windows PC. So naturally, I wanted to share all my discoveries with my readers to help them with this if it is an issue.
3 Ways On How To Take Screenshots on Windows 10/11 PC
There are many ways of taking a screenshot on your PC, but it is not as easy as taking screenshots on your mobile phone. Whereas you just press and hold the volume rocker and power button until a screenshot has been taken.
1. Using a button to Screenshot on Windows (Online – OneDrive)
This is the easiest way of taking a screenshot of your screen on your Windows PC. To do this, all you need to do is click on a certain button on your keyboard. The button next to the delete button that says PrtScn (print screen). This basically screenshots your entire screen just like the one you do on your mobile phone.
However, you can not access your pictures until you have signed into OneDrive – Personal on your PC. When taking the screenshot and you are connected to OneDrive – Personal, you will get a notification on your screenshot. Then, click on the screenshot before you take another one or before you close your Windows PC. When you open the image, click on save and the image will save to your Pictures folder.
2. Using Shortcuts to Take a Screenshot on Windows PC (Offline- Screenshots)
This is another way of taking a screen exactly like your mobile phone. You do this by pressing 2 buttons on your keyboard together. To take a screenshot using this method, hold the window’s button and press the PrtScn button until you a dimming animation on your PC screen. This is to notify you that you have successfully taken a screenshot, just like on your mobile phone.
Also, guess what? you don’t need to sign in to OneDrive – Personal to access it. Once you take the screenshots, it will save them directly to your PC in the screenshots folder. If you have difficulty finding your screenshots using this method, here is a step-by-step guide on how to get there:
- Click on Win + X.
- Then click on E.
- Click on This PC.
- Click on Pictures.
- Then Click on Screenshots.
Lastly, you don’t need to manually save your screenshots using this method.
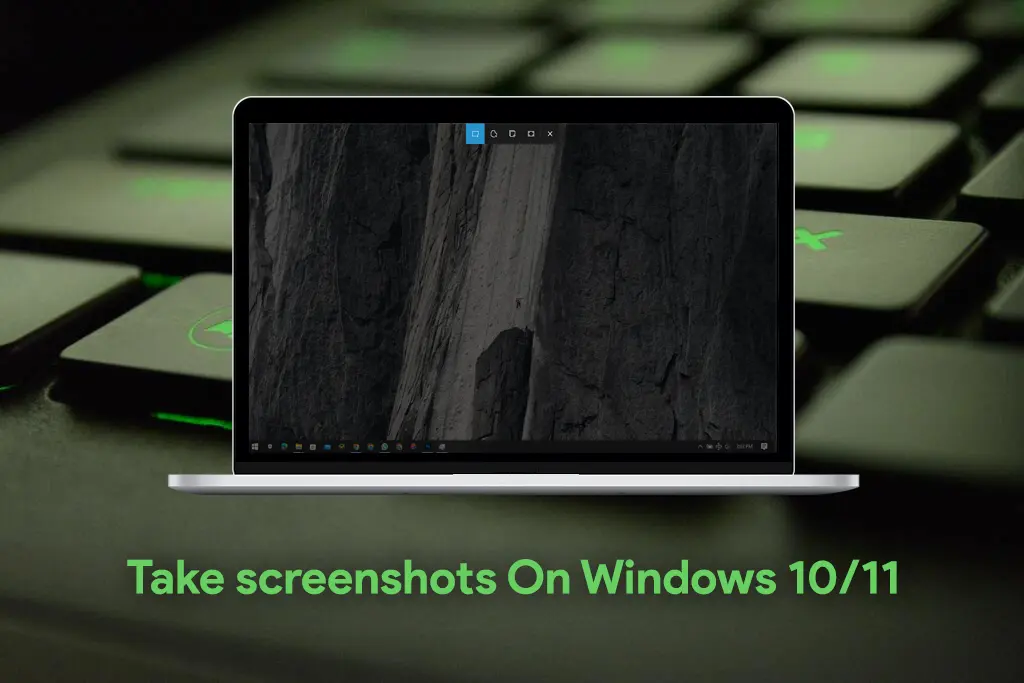
3. Using Screen Snip to Partial or Fullscreen Screenshot Windows PC (Offline – Optional)
Using the screen snip tool has its advantages and disadvantages but if you are using it for specific reasons, it has more advantages. I don’t really have to create a list for these, there is not a lot. The advantages are that you can immediately edit your screens or select parts to the screenshot right off the bat and the disadvantage is that you have to always engage with a pop-up window every time you take a screenshot.
There are basically 2 ways of using this method of taking screenshots. Here are the 2 ways:
1. Using the Notification Panel
When you are ready to screenshot, follow these steps to access the screen snip tool.
- Click on the Notification bar on the taskbar.
- Navigate Screen Snip and click on it.
- Then select the type of screenshot you want (Rectangular snip, Freeform snip, window snip, or Fullscreen snip).
2. Using the PrtScn button
Apart from the first way of taking screenshots on your Windows using the PrtScn button, you can use it for another thing. You can use it to activate screen snip without going to the notification panel. To do this, check out this step-by-step:
- Click on Win + X.
- Then Click on N.
- Then Click on Ease of Access.
- In interactions, click on Keyboard.
- Then toggle on Use the PrtScn button to open screen snipping.
3. Using a Shortcut
On Windows 10, the shortcut button for screen snip is the Windows logo key + Shift + S. This will open the screen snipping toolbar, which allows you to select the type of snip you want to take (e.g. rectangular, free form, etc.).
To use this shortcut, press and hold the Windows logo key and the Shift key, and then press the S key. This will open the screen snipping toolbar, and you can then use your mouse or touchpad to select the type of snip you want to take.
Keep in mind that this is the default shortcut button for screen snip on Windows 10, and it may be different depending on the specific version of Windows you are using and the settings you have configured. You can also check the documentation for your operating system or the specific app you are using to take screenshots for more information.
If you need to edit your picture immediately or you only need to screenshot one window and the entire screen, you just need method 3. It leaves all the work to the software, leaving you with little to no work to do.
Taking Screenshots
Given all the different ways of screenshotting on your Windows PC, you can decide to use any method that suits you or the situation you are in. You can now screenshot millions of times with no hassle.